
Are you trying to find one mic for your PC? Well, you need not to spend time and money to buy one. Just try this app!
This app turns your Android phone to be a microphone for your Windows machine. You can use it for voice chatting, recording, and recognition on your PC. It has nearly unnoticeable lag, just like REAL microphone devices!
The connection between PC and Android phone can be via Bluetooth, USB, or WiFi.
If you would better audio quality, please try PRO VERSION which is its paid version.
WO Mic turns your Android phone to be a microphone for your Windows machine. You can use it for voice chatting, recording, and recognition on your PC. It has nearly unnoticeable lag, just like REAL microphone devices!
It supports the following connections between PC and Android phone:
- Bluetooth
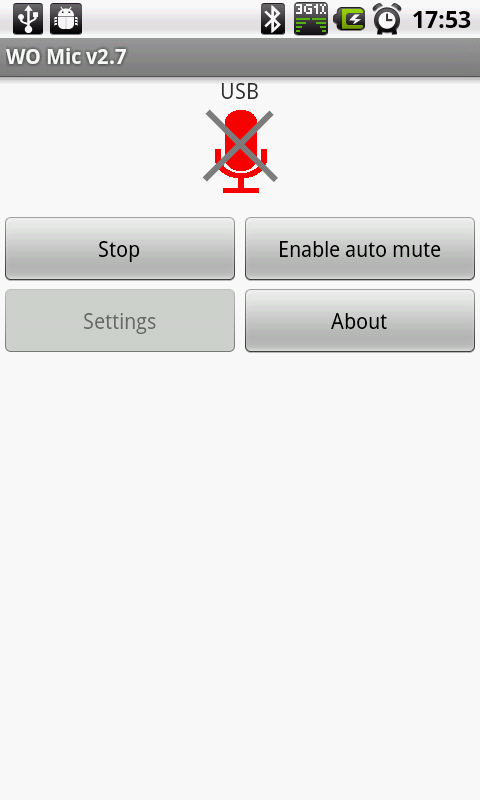
- USB
- WiFi
You need to install a special client program and driver so that your PC can recognize the newly-acquired sound-magnifying abilities.

Download & Install
You need to install app on Android phone. You also need to install driver and client program on Windows.
1. App on phone
- Install WO Mic Pro Version or WO Mic Free Version from Android market.
2. Client on PC
3. Driver on PC
The driver is used to simulate one virtual audio device so that voice can be routed to other applications. It just routes voice data. Nothing more is done.
If your system is Win XP or Win7 32 bit system:
If your system is Win7 x64 system
- run this will make your system support test certificates signed drivers.
- reboot your computer and you should see that it shows something like "Test Mode" on the right bottom corner of your computer screen. If you need to restore your PC to normal mode, please refer to FAQpage
- run this
Thanks for coming by and taking your
time to read this post :) I hope you have learnt something today and shared
this. Now I'd love to hear from you. Got any views, thoughts and questions
related to the post? I'm all ears here. Add your comment.


